Installing a water heater in your bathroom can significantly enhance comfort, especially during colder months. Whether you are replacing an old unit or adding one for the first time, proper planning and careful installation are essential. Choosing the right water heater for your bathroom size and hot water usage ensures energy efficiency and long-term reliability. The installation process involves connecting water lines, mounting the unit, and ensuring safe electrical or gas supply hookups. While it may seem like a basic DIY job, it is vital to understand local plumbing codes and safety measures. Many homeowners prefer hiring professionals like those at El Paso Plumbing to ensure proper installation. This guide outlines a simplified approach to help you understand the essentials. With the right tools and knowledge, you can make informed decisions about whether to do it yourself or work with a licensed technician.
Preparation Before Installation
Before beginning, ensure the water heater is the right type and size for your bathroom. Tankless models save space and energy, while small storage tanks are more budget-friendly. Check that your bathroom has proper ventilation and water pressure. Shut off the electricity and water supply to avoid accidents. Have tools ready: pipe wrench, Teflon tape, screwdrivers, mounting brackets, and a drill. It’s also smart to review your home’s electrical or gas configuration to match the water heater’s requirements. Preparation not only ensures smoother installation but also reduces post-installation issues.
Choosing the Right Water Heater
Pick between tankless or storage-type based on usage and available space.
Ensure Water and Power Shut-off
Locate and close the main water valve and turn off electricity from the circuit breaker.
Inspect Plumbing and Power Supply
Double-check pipe compatibility, electrical outlets, and grounding to prevent future hazards.
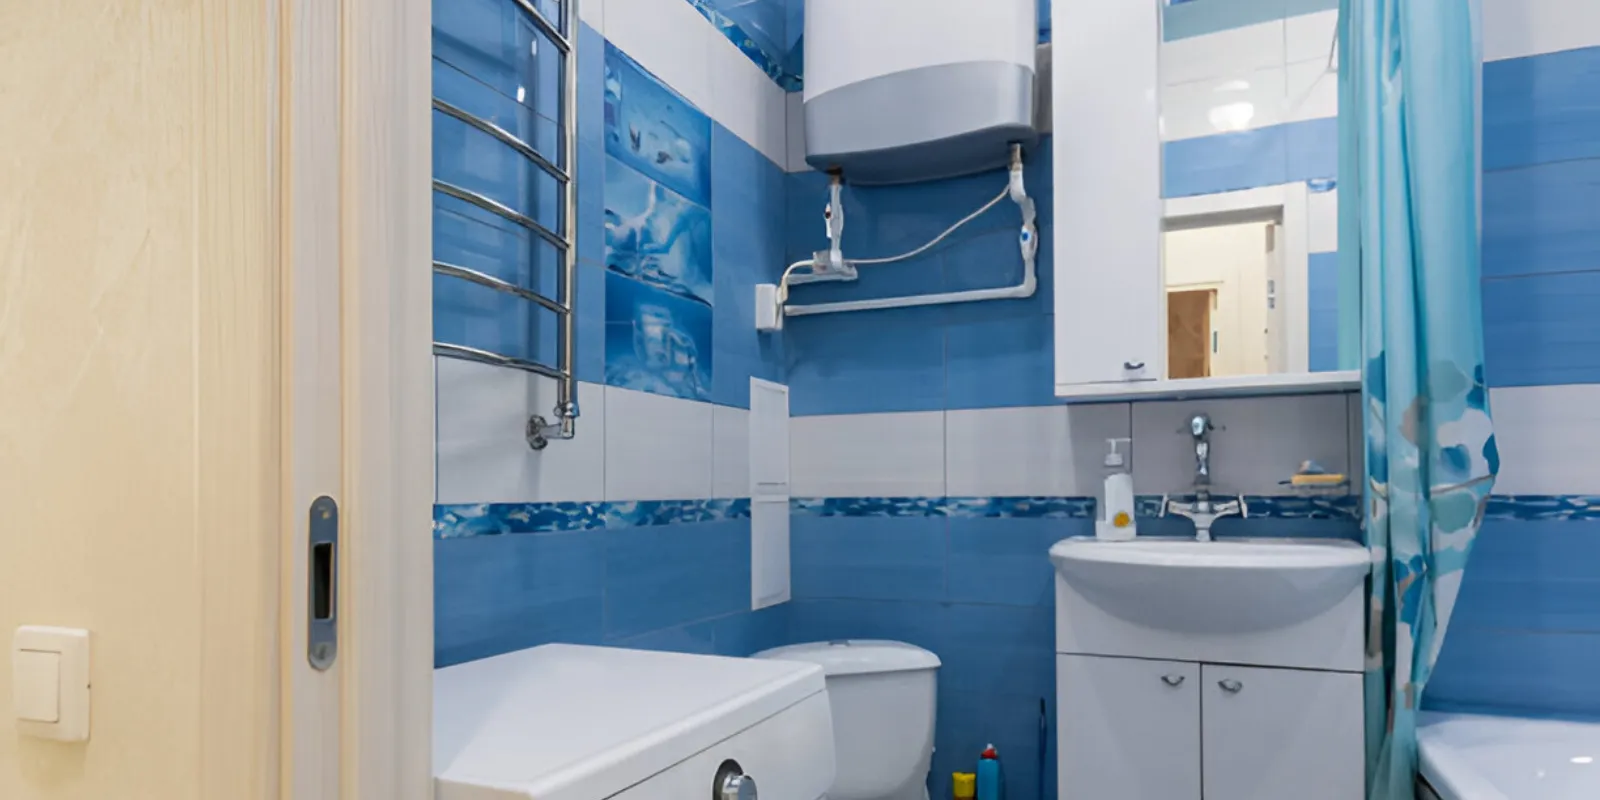
Installing the Water Heater Unit
Mount the water heater securely at an appropriate height to allow safe access and avoid splash exposure. Use brackets and wall anchors suitable for your bathroom’s wall type. Connect the cold-water inlet and hot-water outlet using appropriate fittings and sealants. If installing a tankless model, secure the unit tightly to prevent vibrations. After water connections, hook up the electrical wires as per the manufacturer’s instructions or local electrical code. If you are uncomfortable with wiring, consult Water Heater Installation and Repair professionals for a safe installation.
Mounting and Support
Ensure the heater is fixed to a stable, water-resistant wall using durable mounting hardware.
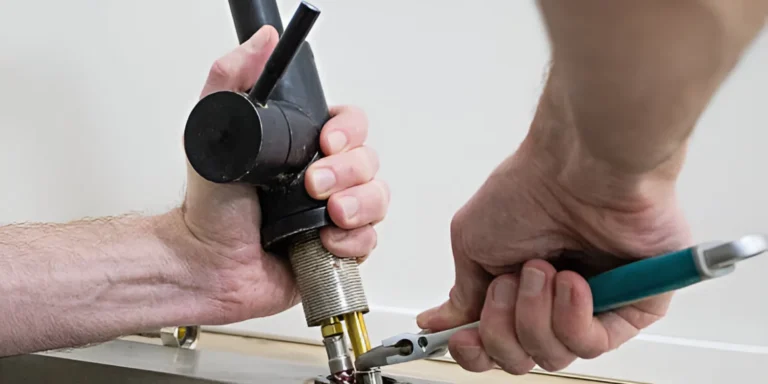
Connecting Inlet and Outlet
Use PTFE tape to tightly seal PVC or CPVC connections and avoid water leaks.
Wiring and Safety Checks
Match wire colors and secure connections. Install a circuit breaker if not already in place.
Installation, Testing, and Maintenance Tips
Once installed, turn on the water supply to check for leaks. Open a hot water tap and let water run to remove air from the system. Then, power up the water heater and monitor the heating time. Check the thermostat to ensure the desired temperature is reached. After use, perform regular maintenance, like flushing sediment from tank models or cleaning filters in tankless units. These practices improve efficiency and lifespan. For long-term reliability, annual inspections from licensed plumbers like those at El Paso Plumbing are highly recommended.
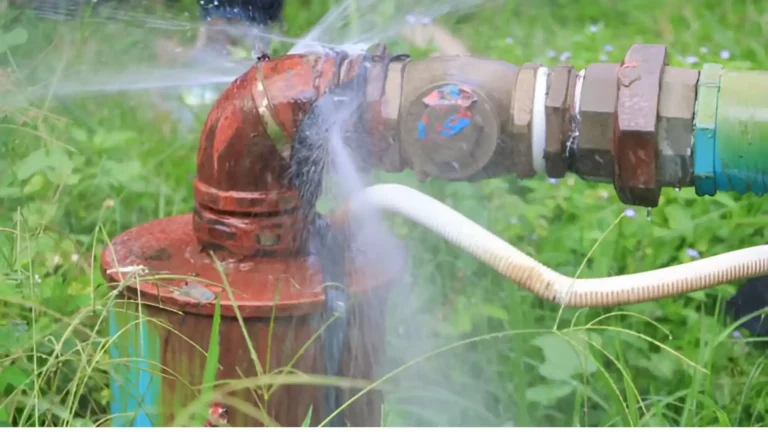
Test the System for Leaks
Inspect each joint and connection visually and by touch after pressurizing the system.
Adjust Thermostat Settings
Set the thermostat to 120°F for safe and energy-efficient heating.
Schedule Routine Maintenance
Drain tank heaters once a year and clean tankless filters every few months to avoid issues.