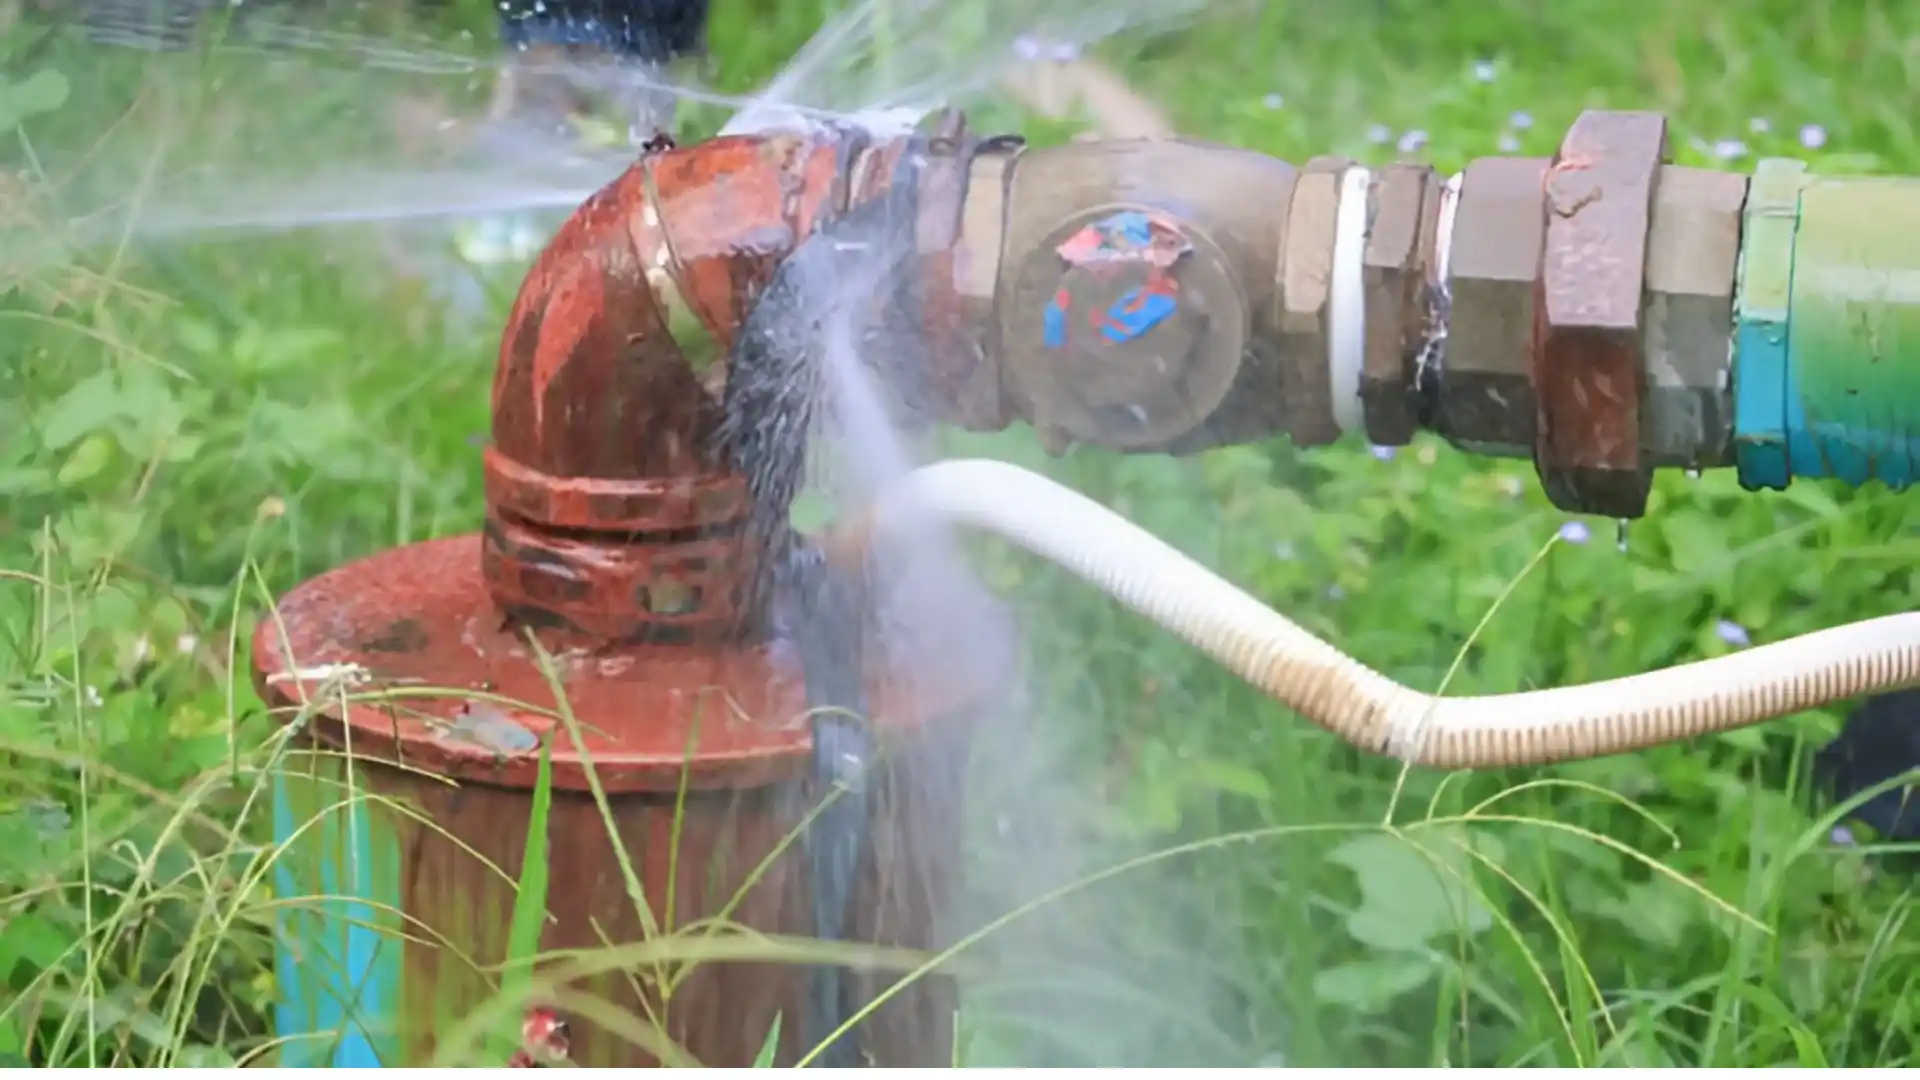
A leaking pipe in your home can cause stress, water damage, and unexpected costs, especially if left unaddressed. Whether it is a small drip under the sink or a visible spray from a wall pipe, knowing how to stop a leak temporarily can prevent serious property damage before a professional arrives.
Leaks can be caused by corrosion, freezing temperatures, high water pressure, or damaged seals. While these issues often require permanent repair, there are a few temporary fixes homeowners can use to control the leak and minimize damage.
In this guide, we will walk you through 7 effective ways to stop a leaking pipe temporarily, using common materials like rubber, clamps, and epoxy. These quick solutions can buy you time while you wait for a professional plumber.
1. Turn Off the Water Supply First
Before doing anything else, shut off your water supply. This will immediately stop the leak from worsening and prevent further damage to your floors, cabinets, or drywall.
How to Do It:
- Locate the nearest shut-off valve to the leaking pipe.
- If that’s not possible, turn off your home’s main water supply, usually found near the water meter or outside wall.
- After shutting off the water, open nearby faucets to relieve pressure and drain excess water from the line.
This is the most critical first step. Once the water is off, you can safely assess the pipe and apply a temporary fix to it.
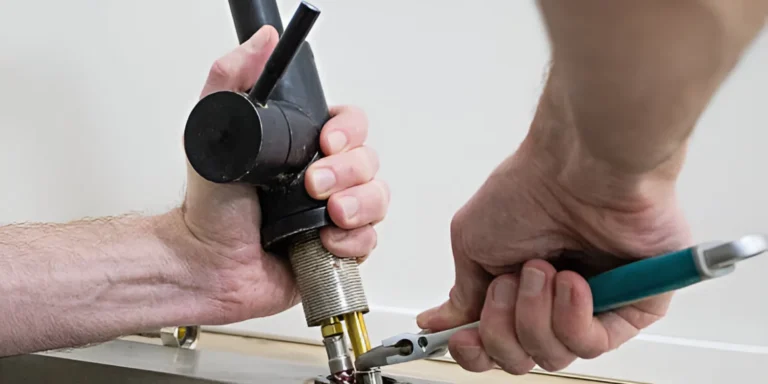
2. Use Pipe Repair Clamps for a Quick Seal
A pipe repair clamp is one of the easiest and most effective temporary solutions. These clamps are designed to wrap around the leak and provide a tight seal, ideal for moderate leaks in exposed pipes.
How to Apply:
- Dry the pipe thoroughly.
- Position a rubber pad or gasket over the leak.
- Center the repair clamp over the rubber pad and tighten it securely.
Pipe clamps are readily available at hardware stores and work well for copper, PVC, or galvanized pipes. This quick fix can hold for several days or longer, but it is still important to call a plumber for a long-term solution.
3. Seal Small Cracks with Epoxy Putty
If the leak is small, a pinhole or crack, you can use epoxy putty for a quick patch. This waterproof compound hardens into a durable seal, making it perfect for minor pipe damage.
How to Use It:
- Clean and dry the leaking area.
- Cut off a piece of epoxy putty and knead it until it’s uniform in color.
- Press the putty firmly over the leak and shape it to cover the crack.
Let it cure for the time specified on the package, usually 15–30 minutes. While this fix is durable in the short term, it’s not permanent, especially for high-pressure lines. If the leak is near a water heater or major drain line, consider scheduling a Water Heater Repair or Drain Cleaning Service immediately.
4. Wrap Leaks with Self-Fusing Silicone Tape
Silicone tape, also called self-fusing or pipe repair tape, is a stretchy, rubber-like tape that bonds to itself and creates a temporary seal over leaks. It’s ideal for low-pressure situations and can be used without turning off the water in emergencies.
How to Apply:
- Dry the pipe as much as possible.
- Start wrapping a few inches away from the leak.
- Stretch and overlap the tape tightly over the leaking section, continuing several inches past it.
Silicone tape holds surprisingly well, especially on smooth surfaces like copper or PVC. It’s not a permanent fix, but it works well to control leaks until the plumber can evaluate and replace the damaged section.
5. Use a Rubber Patch and Hose Clamp
This DIY method works if you don’t have a pipe clamp on hand. A rubber patch and hose clamp combo can be just as effective when used correctly.
How to Use:
- Cut a piece of rubber (from an old hose or tire tube) to cover the leak.
- Place the rubber over the damaged area.
- Secure it in place using one or more metal hose clamps, tightened firmly.
This method can last a few days and is ideal in emergencies when professional tools aren’t available. Be sure to monitor the patch, and contact a plumber for a permanent pipe replacement or Sewer Line Repair if necessary.
6. Temporary Fixes with a C-Clamp and Wood Blocks
For larger leaks where clamps or tape are insufficient, you can use a C-clamp and wood blocks to apply pressure over a rubber patch—especially for pipes under mild pressure but difficult to access.
Steps:
- Place a piece of rubber directly over the leak.
- Sandwich the pipe between two small, flat wooden blocks.
- Tighten the C-clamp over the wood until the rubber is compressed against the pipe.
This isn’t a long-lasting solution, but it can reduce leaking in emergency scenarios while you await professional service.
7. Catch the Water and Reduce Pressure on the Pipe
In some situations—like under a sink—you may not be able to patch the leak immediately. In that case, contain the water and reduce pressure to minimize damage.
Here’s What to Do:
- Place a bucket or bowl under the leak.
- Wrap the pipe with a towel or rag to absorb and redirect slow drips.
- Reduce water usage in the house to relieve system pressure.
This is purely a containment solution, not a repair. If the leaking pipe is part of your drain line, schedule a Drain Cleaning Service or Sewer Line Repair to avoid further damage or contamination.