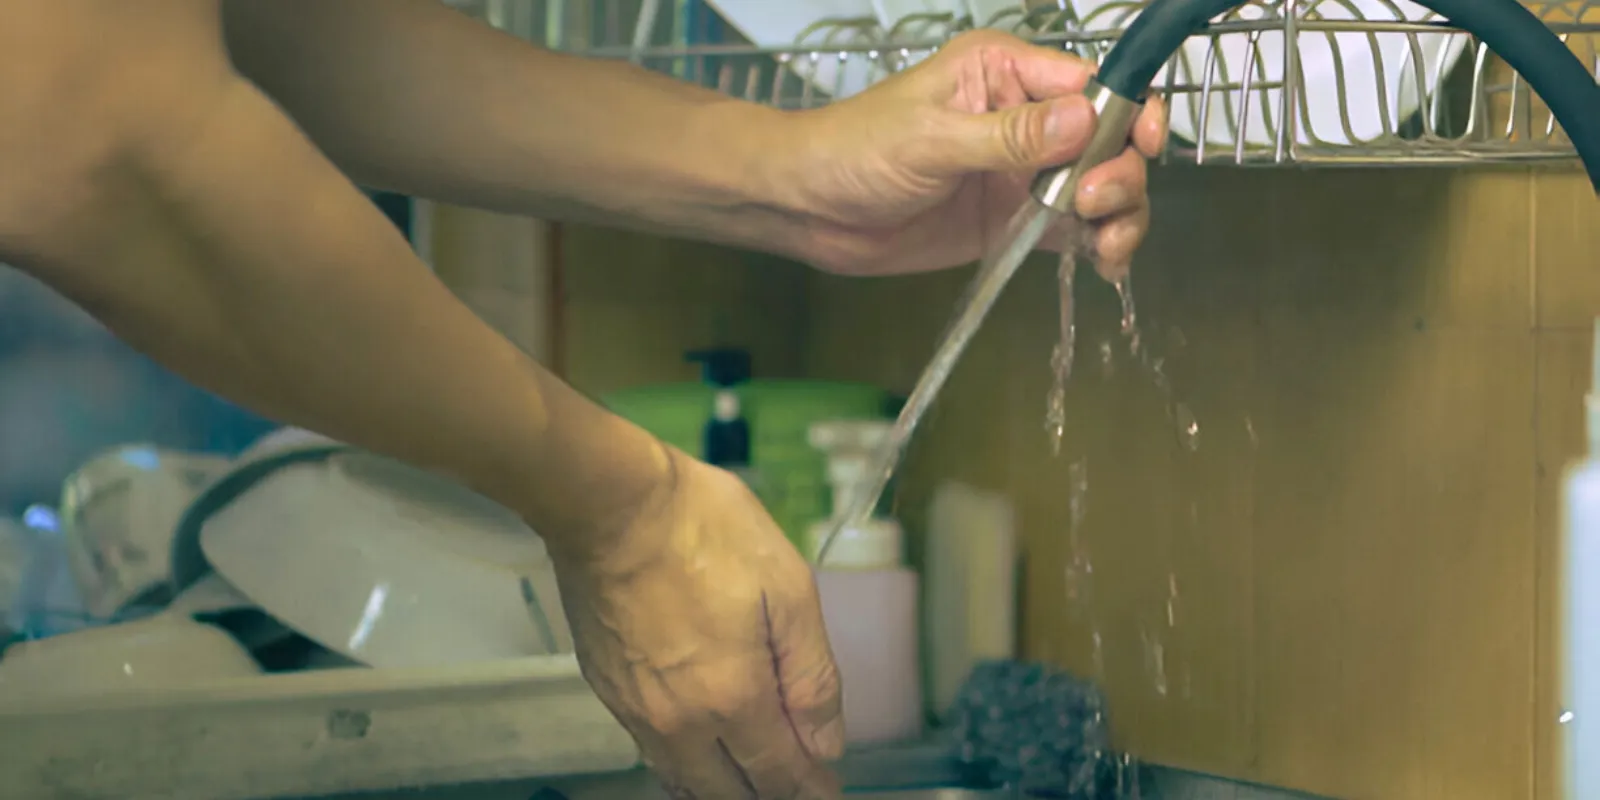
A leaking kitchen tap may seem like a minor nuisance, but over time, it can waste gallons of water and drive up your utility bill. Fortunately, fixing a dripping tap is a simple task you can often handle yourself. Whether the issue is a worn washer, a damaged O-ring, or corrosion in the valve seat, addressing it early can prevent bigger plumbing problems down the road.
In this guide, you’ll learn how to identify the cause of your leaky kitchen tap and repair it step by step. We’ll also cover when it’s time to call in professionals like El Paso Plumbing. While this fix focuses on the kitchen, many of these steps can apply to bathroom faucets too, especially if you’re planning Bathroom Repair.
Identifying the Cause of the Leak
Before you start any repairs, it’s important to pinpoint where the leak is coming from. Check if the water is dripping from the spout, leaking around the base, or seeping from the handles. A drip from the spout often indicates a worn-out washer or cartridge inside the faucet. Leaks around the handle might be due to a faulty O-ring or valve seat corrosion.
Turn off the water supply under the sink and test the faucet to release pressure. Then, carefully disassemble the faucet to examine the internal components. Take note of any worn or broken parts. If the tap uses cartridges or ceramic disks, you may need to replace those specific parts. For complex issues like corroded valve bodies or persistent leaks, contacting experts such as El Paso Plumbing is the safest choice to ensure a permanent solution.
Tools and Materials You’ll Need
Before starting, gather tools such as a wrench, screwdriver, replacement washers or cartridges, plumber’s tape, and a cloth to catch excess water. Having these ready will make the repair process faster and cleaner.
When to Replace Instead of Repair
If your faucet is outdated, corroded, or leaking in multiple areas, replacing the entire unit might be more cost-effective. Consider upgrading during a kitchen or Bathroom remodeling project for improved efficiency and design.
Step-by-Step Guide to Fixing the Leak
Once the source of the leak is identified, you can begin repairs. First, shut off the water supply and cover the sink drain to avoid losing small parts. Use a wrench or screwdriver to remove the handle and access the internal mechanism. If it’s a compression faucet, replace the rubber washer. For cartridge or ceramic disk faucets, remove and replace the cartridge or disk with an exact match.
Use plumber’s tape when reassembling threaded connections to prevent future leaks. Reattach all parts carefully and turn the water back on. Test the tap to ensure the leak is fixed. If everything runs smoothly, you’ve saved time, money, and water. However, if problems persist, it might signal deeper issues in your plumbing. In that case, call (915-285-0087) for expert diagnosis and repair.
Preventing Future Leaks and Sink Issues
Maintaining your kitchen tap is key to preventing future leaks. Avoid overtightening the handles, which can wear out washers faster. Clean aerators regularly to ensure smooth water flow. Check under the sink occasionally for signs of moisture or corrosion.
A leaking faucet often goes hand-in-hand with other plumbing issues like clogged drains. Keep your plumbing in good shape by learning how to prevent sink from clogging. Install sink strainers, avoid pouring grease down the drain, and flush the pipes with hot water weekly.
Conclusion
Fixing a leaking kitchen tap is often a simple and rewarding DIY task. By identifying the problem early and using the right tools, you can restore your faucet’s performance and avoid costly water damage. For more complex repairs or full plumbing inspections, trust local professionals like El Paso Plumbing to get the job done right.
How to Fix a Leaking Kitchen Tap FAQ
Q1: What causes a kitchen tap to leak?
A leaking kitchen tap is often caused by worn-out washers, faulty O-rings, corroded valve seats, or damaged cartridges, depending on the faucet type.
Q2: Can I fix a leaking tap myself?
Yes, many leaks can be fixed DIY with the right tools and replacement parts. However, persistent leaks may require professional help from El Paso Plumbing.
Q3: How do I know if I need to replace the tap instead of repairing it?
If your tap is corroded, leaking in multiple areas, or very old, it may be more cost-effective to replace it, especially during Bathroom remodeling.
Q4: What tools are needed to fix a leaking kitchen tap?
You’ll typically need a wrench, screwdriver, plumber’s tape, cloth, and replacement washers or cartridges.
Q5: How can I prevent future kitchen sink issues?
Regularly clean the faucet aerator, avoid pouring grease down the drain.


