A leaky faucet may seem like a minor nuisance, but over time, it can waste gallons of water, increase your utility bills, and even damage your fixtures. The constant dripping sound can also be irritating. Fortunately, fixing a leaky faucet is a simple task that doesn’t always require a plumber. With the right tools and a bit of patience, most homeowners can resolve the issue themselves in under an hour. This guide walks you through the process of identifying the cause, choosing the right fix, and restoring your faucet to like-new condition, saving water and money in the process.
Identify the Type of Faucet
Before making repairs, it’s important to determine what kind of faucet you have. The most common types include compression, ball, cartridge, and ceramic disc faucets. Each operates differently and requires specific replacement parts. Compression faucets usually drip because of worn washers, while cartridge models may need new O-rings. Knowing your faucet type helps you pinpoint the issue and buy the correct components. Disassemble the handle and inspect the mechanism inside. If unsure, take the parts to a hardware store for expert advice.
Turn Off the Water Supply
Always shut off the water under the sink before starting. This prevents flooding and makes it easier to work safely. Open the faucet to release any remaining pressure and confirm the water is fully off.
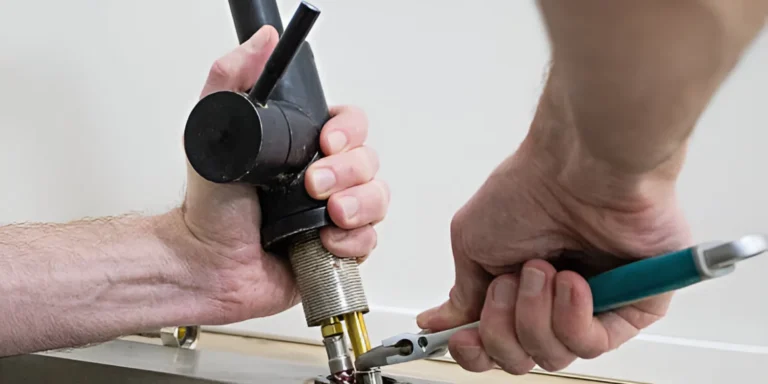
Gather Tools and Remove Damaged Parts
Once you’ve identified the faucet style, collect the tools needed. Typically, you’ll need an adjustable wrench, screwdriver, pliers, and replacement seals or washers. Carefully remove the handle and any internal components to access the worn-out pieces. Take note of the arrangement, or better yet, snap photos during disassembly to guide you when reassembling. Clean away any mineral deposits or grime that may have built up. Replace any damaged or eroded parts, making sure everything fits snugly and lines up correctly.
Use Plumber’s Grease
Apply a small amount of plumber’s grease to moving parts before reassembly. This helps the faucet function smoothly and extends the life of the components.
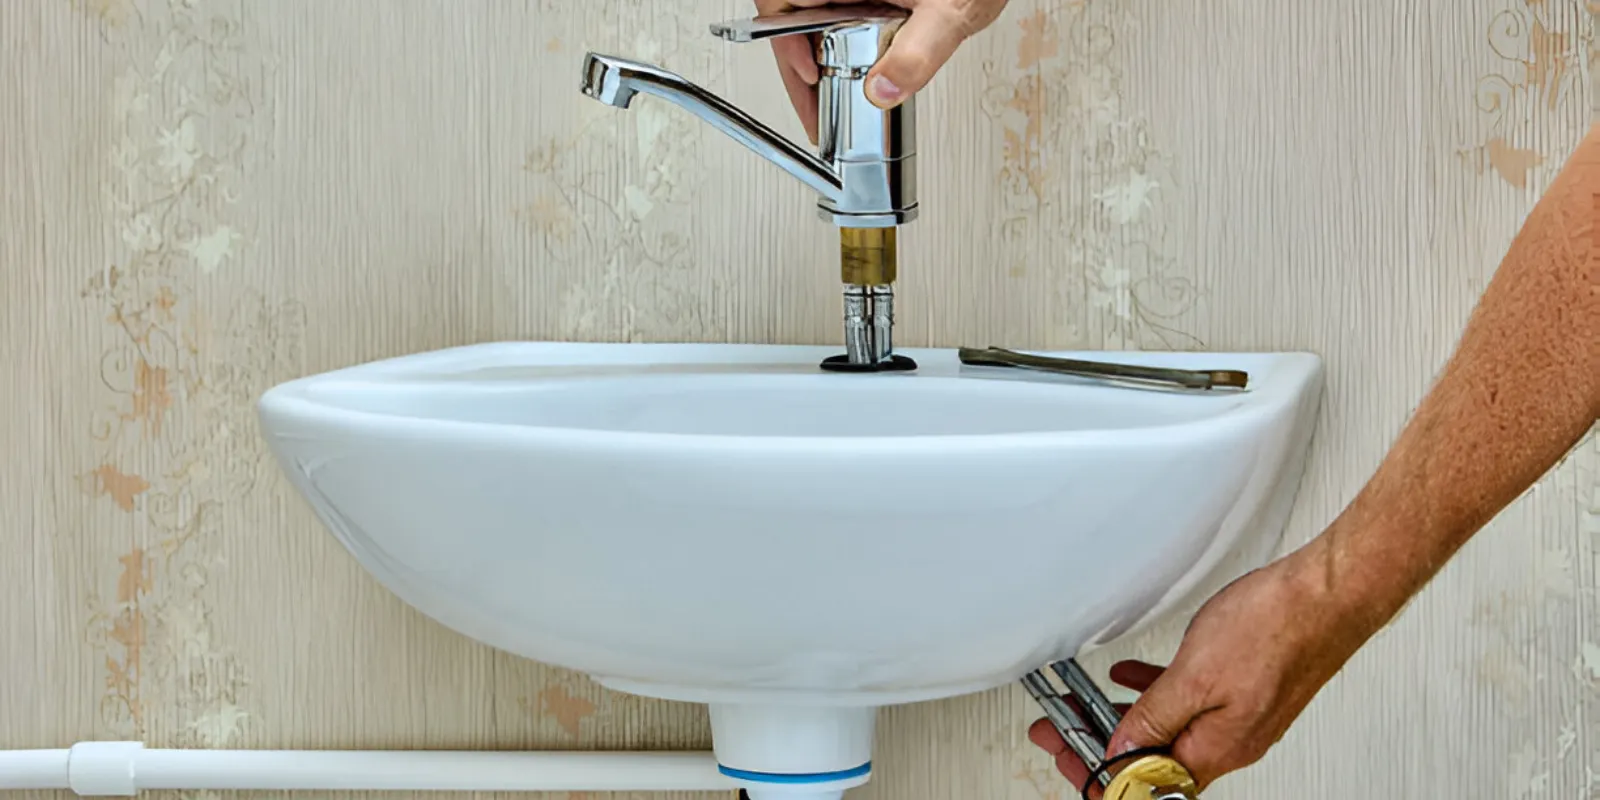
Reassemble and Test the Faucet
After replacing the faulty elements, carefully put everything back together in the correct order. Reattach the handle and tighten all fasteners without overtightening, which could crack delicate parts. Turn the water supply back on and slowly test the faucet. Check for drips and ensure smooth operation. If the leak is gone, you’ve successfully solved the problem. If the faucet continues to leak, the issue may be deeper in the plumbing or involve corrosion, in which case, calling a professional is advised.
Check for Additional Issues
Inspect under the sink for any signs of moisture or further leakage. Sometimes a drip may be linked to loose fittings or worn supply lines. Tightening or replacing these can prevent future problems.