Installing a garbage disposal in a single sink is a great way to improve kitchen efficiency, reduce food waste, and help keep your sink clear of clogs. While the process may seem intimidating, with the right tools and step-by-step guidance, most homeowners can complete the task in just a few hours. A garbage disposal grinds up food scraps and sends them down the drain, minimizing odors and reducing the chance of blockages. This is especially helpful when paired with regular maintenance to protect your pipes. Whether you’re replacing an old unit or installing one for the first time, knowing how to install it properly is key. This guide covers everything from preparing your sink to wiring and mounting the disposal unit. If you’re unsure or run into problems, don’t hesitate to consult a professional in El Paso Plumbing for assistance or consider expert Garbage Disposal Repair and Installation services.
Tools and Materials You’ll Need for Installation
Before starting your installation, gather all the necessary tools and materials to ensure a smooth process. You’ll need a garbage disposal unit compatible with your single sink, a plumber’s putty, a screwdriver, an adjustable wrench, a pipe wrench, and possibly a hacksaw. You’ll also need a bucket, some towels, and a wire stripper if electrical connections are required. If your sink doesn’t already have a disposal outlet, you’ll need a mounting assembly and discharge tube. Turn off the power at the circuit breaker before working with any electrical components. Having all your tools laid out in advance can save time and help avoid unnecessary trips to the hardware store. If this is your first time attempting a DIY plumbing task, you might also benefit from watching a few video tutorials or reading about how to Prevent Kitchen Sink from Clogging as part of your overall kitchen maintenance plan.
Step-by-Step Installation Process for a Single Sink
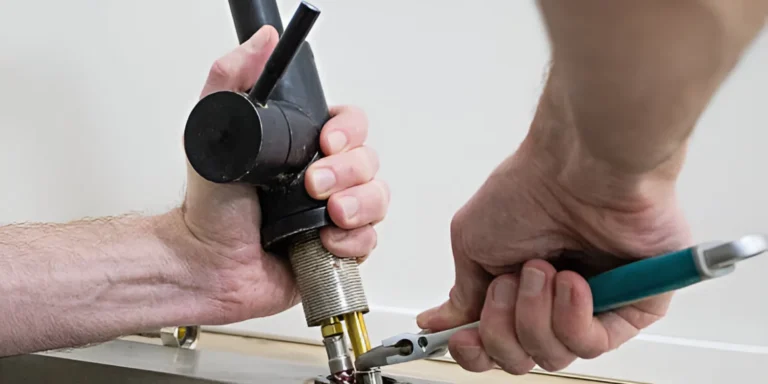
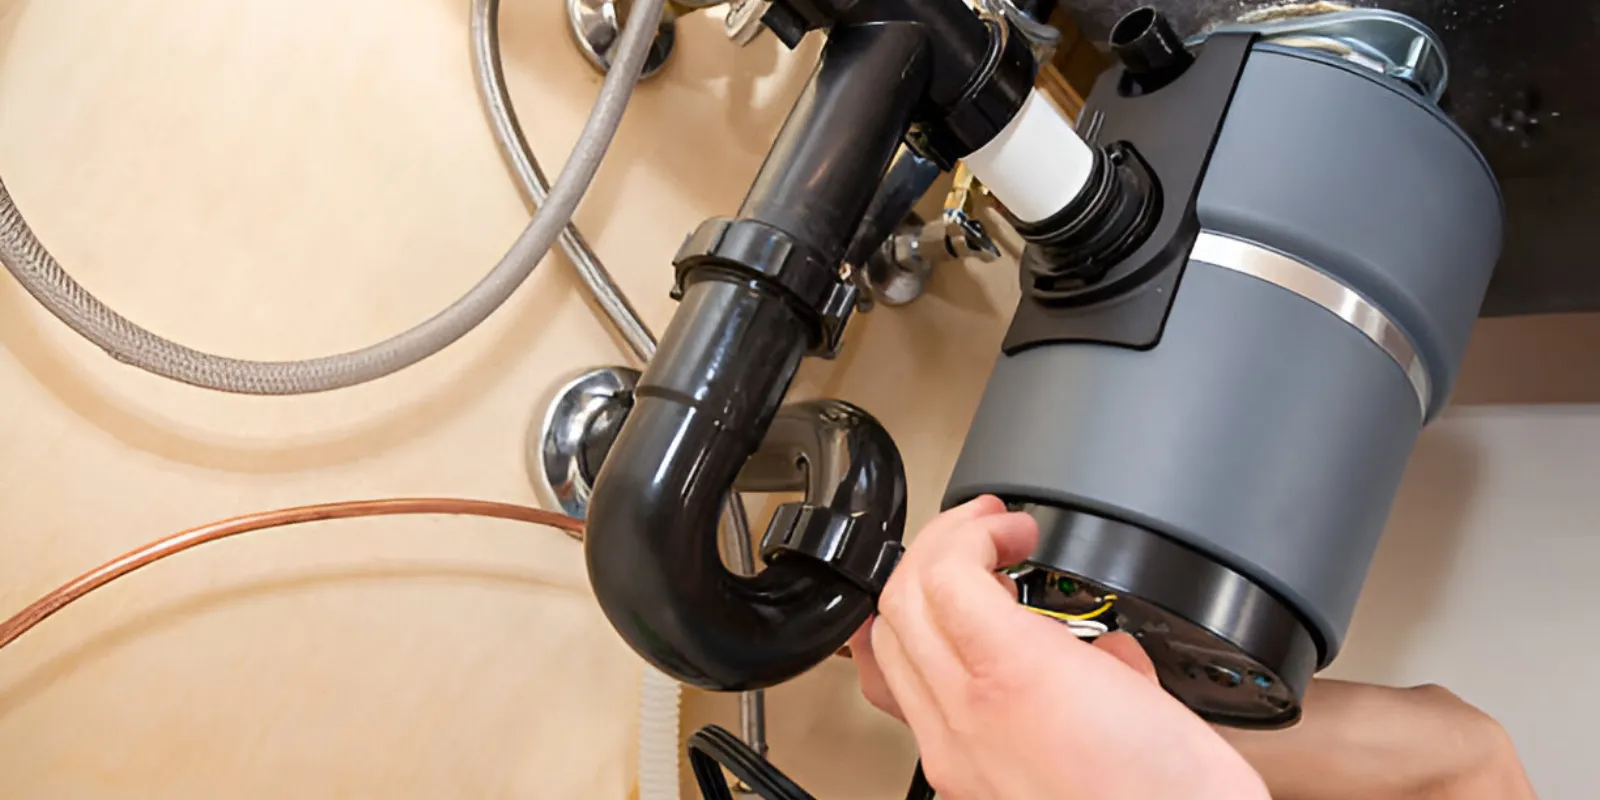
Begin by disconnecting the drain lines under your sink and removing the existing sink strainer if there is one. Clean the sink opening and apply a bead of plumber’s putty around the new flange that comes with your disposal. Insert the flange into the sink drain opening and press firmly. From underneath, attach the mounting ring and tighten it securely. Next, if your unit doesn’t come pre-wired, connect the power cord to the disposal’s wiring compartment—white to white, black to black, and green to the grounding screw. Attach the disposal unit to the mounting ring, aligning it with the notches and twisting it into place. Then, connect the discharge tube to the drain line. Finally, test for leaks and turn the power back on.
Testing and Maintaining Your New Garbage Disposal
Once the installation is complete, run water through the sink and turn on the disposal to ensure everything functions properly. Listen for unusual noises and check for leaks beneath the sink. Run cold water when using the disposal to help solidify grease and flush food particles. Avoid putting in fibrous items like celery or potato peels, which can wrap around the blades and cause jams. Regular maintenance, such as grinding citrus peels and ice cubes, keeps the disposal smelling fresh and the blades sharp. To extend the lifespan of your new appliance, always follow the manufacturer’s guidelines and avoid overloading the unit. If you notice persistent clogs or mechanical issues, seek professional Garbage Disposal Repair and Installation.
Common Mistakes to Avoid During Installation
Some common installation mistakes include not using plumber’s putty properly, failing to tighten the mounting ring, or connecting mismatched wiring. Always double-check your seals and electrical connections. Rushing through the process can lead to leaks, electrical issues, or a non-functioning disposal.
When to Call a Professional Plumber
If you’re not comfortable handling electrical work or plumbing modifications, it’s best to call a professional. An Expert Plumber can ensure the job is done safely and up to code. A licensed plumber can also help diagnose underlying issues you might miss, saving time and future repair costs.